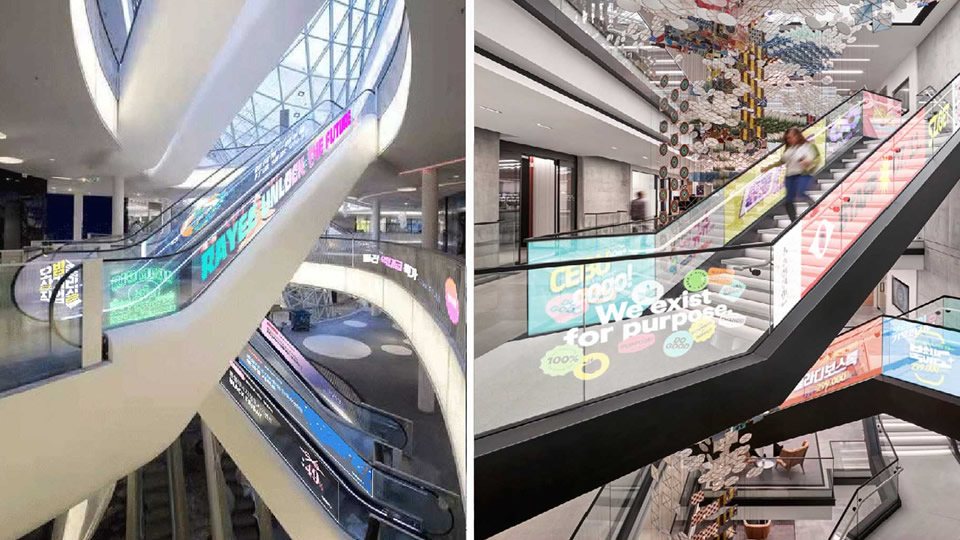
Installing a Transparent LED Screen on a glass façade may seem challenging, but with the right approach and tools, it can be both efficient and visually stunning. These screens not only allow light to pass through but also offer dynamic content visibility from both inside and outside the building. Here's a simple breakdown of how the installation process works and what to keep in mind.

1. Assess the Glass Structure
Before anything else, check the structural integrity of the glass façade. Transparent LED screens are lightweight compared to traditional displays, but the mounting points still need to be secure. Look for areas with aluminum framing or steel supports, which are ideal for fixing brackets.
2. Choose the Right LED Module Size
Transparent LED panels come in various sizes and pixel pitches. The pitch you choose depends on viewing distance and desired resolution. For retail windows, a pitch between P2.8 and P7.8 is commonly used. Measure your glass surface carefully to ensure full coverage or proper alignment of panels.
3. Fix the Mounting Brackets
Next, install the brackets or hanging beams. Most transparent LED screens are installed using a hanging system from the top or a frame system fixed on the side. Ensure that the brackets are level and firmly secured. This step is critical for ensuring a seamless display.
4. Connect the LED Panels
Once the brackets are in place, begin mounting the LED panels. Most systems are modular, which means you can connect multiple panels to create a larger screen. Pay close attention to alignment to avoid gaps or uneven seams.
5. Cable Management and Power Setup
After the hardware is mounted, route the data cables and power cables neatly. Transparent LED screens usually require minimal cabling compared to traditional displays, and power can be drawn from a single side depending on the panel design. Hide the wires within the frame or building structure to maintain a clean look.
6. Configure the Content System
Use a media player or control system to send content to the screen. Many systems come with software that allows scheduling, brightness adjustment, and real-time content updates. Always calibrate brightness based on ambient light conditions, especially if the display faces direct sunlight.
7. Test and Final Adjustments
Finally, power up the system and run tests. Check for dead pixels, color uniformity, and synchronization across all panels. Make any final adjustments to brightness, contrast, or alignment.

